Connect a Bank with Yodlee
Connecting your bank account can help you manage your finances more effectively and make money management easier. Follow this guide to connect a bank:
Guide to Connect Bank:
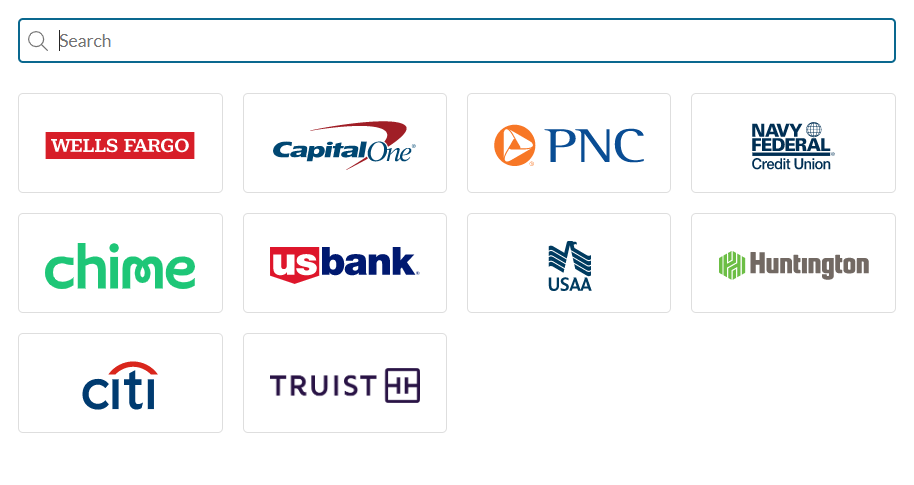
Step 1: Select your Bank
Choose the bank you would like to connect. If your bank does not appear in the list, you can use the search bar.
Step 2: Log in to your Bank
To log in to your bank, enter your credentials. The login page may appear within the application (Image 1) OR in a separate pop-up window (Image 2).
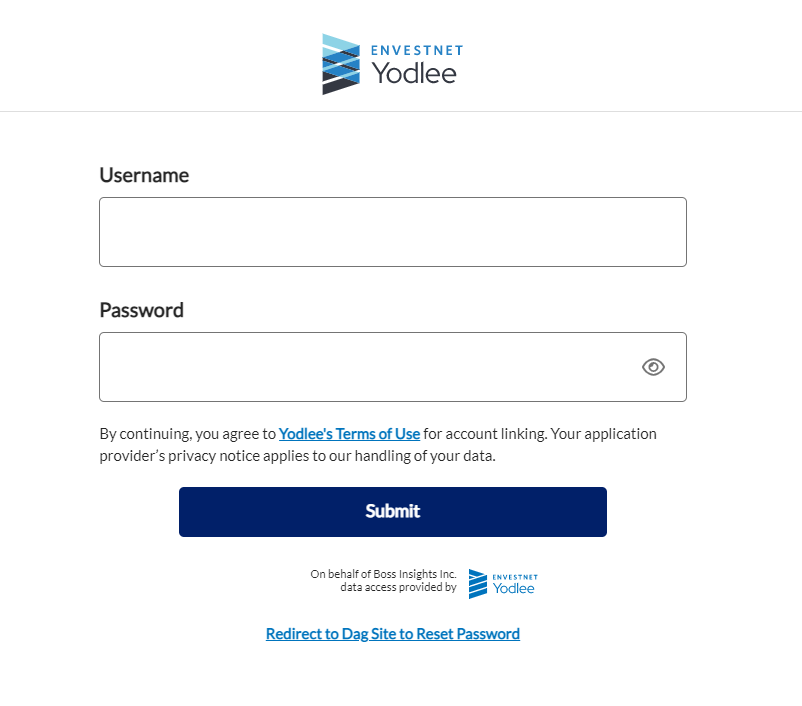
Image 1: A log in page directly in the application.
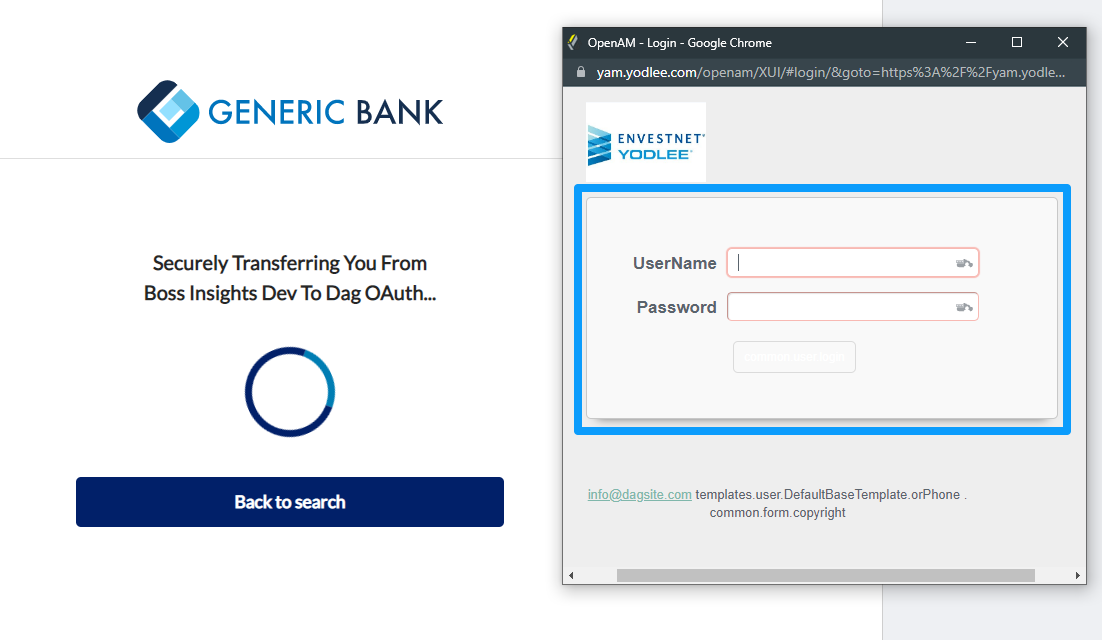
Image 2: A second window with a log in page.
Step 3: Authorize the Application
Please note that not all banks will require this step.
You may also need to authorize the application. The authorization page may open within the application or in a separate window. Please review the permissions before continuing.
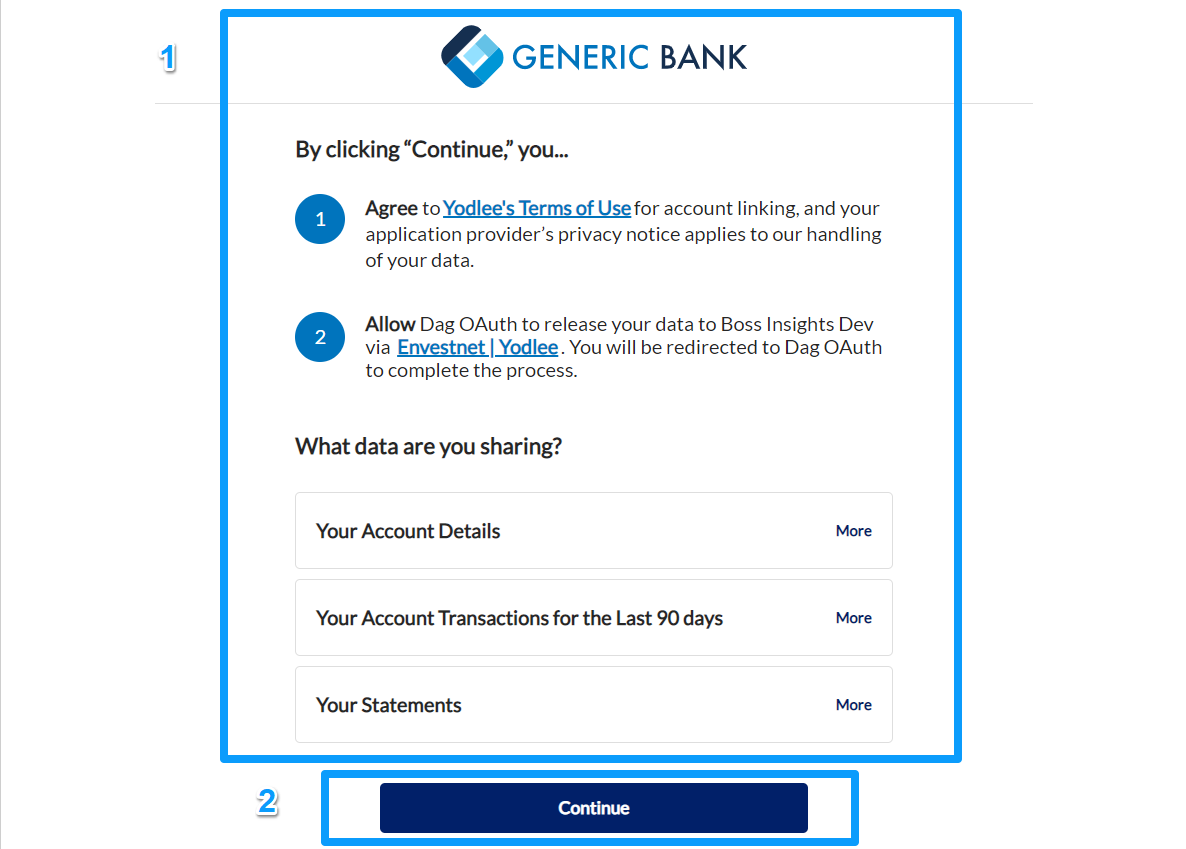
Example of an authorization page.
Step 4: Choose Accounts
Choose the accounts you would like to connect. Your profile will include the accounts that you have selected with the blue checkmark.
Either select Save & Link More Accounts to add another bank OR select Save & Finish to complete the connection. To cancel, you may click Cancel.
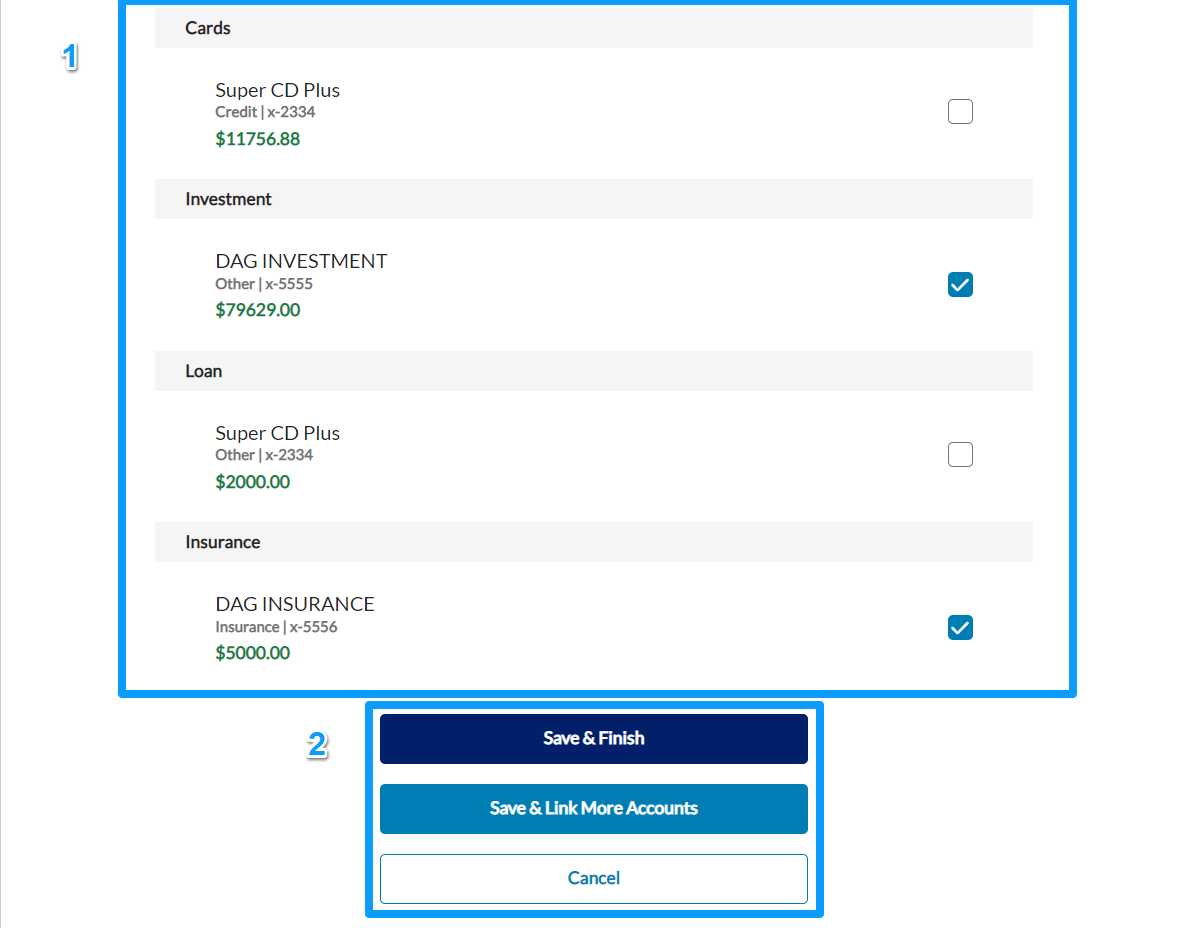
Example of a list of accounts.
Save & Link More Accounts
If you would not like to add another bank account, please continue to Save & Finish.
Step 5: Select the Next Bank Account
If you selected Save & Link More Accounts, select the next bank you would like to include.
Please enter your credentials to log in. The login page may appear within the application OR in a separate pop-up window. Please refer to Step 2 for examples.
Step 6: Authorize the Application
You may also need to authorize the application. The authorization page may open within the application or in a separate window. Please review the permissions before continuing. Please refer to Step 3 for examples.
Step 7: Select Accounts
In the previous window, you will see the accounts that you are able to connect. Your profile will include the accounts that you have selected with the blue checkmark.
After selecting the accounts, either select Save & Link More Accounts to add another bank OR select Save & Finish to complete the connection. Please refer to Step 4 for examples.
Save & Finish
Step 8: Complete
After clicking Save & Finish, you will receive a confirmation message to indicate the connection was successful. You may click Return to Dashboard.
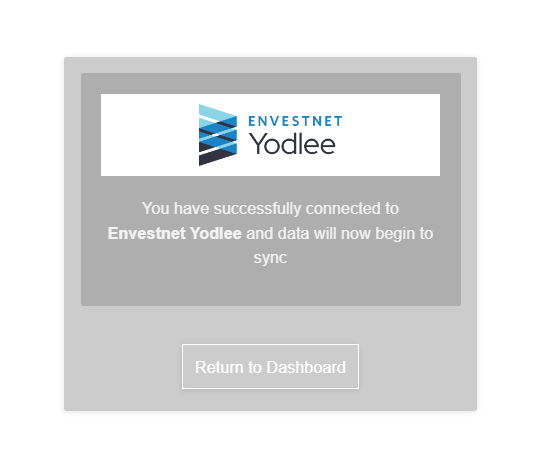
You have successfully connected a bank account.