Connect a Bank with MX
Connecting your bank account can help you manage your finances more effectively and make money management easier. Follow this guide to connect a bank:
Guide to Connect Bank:
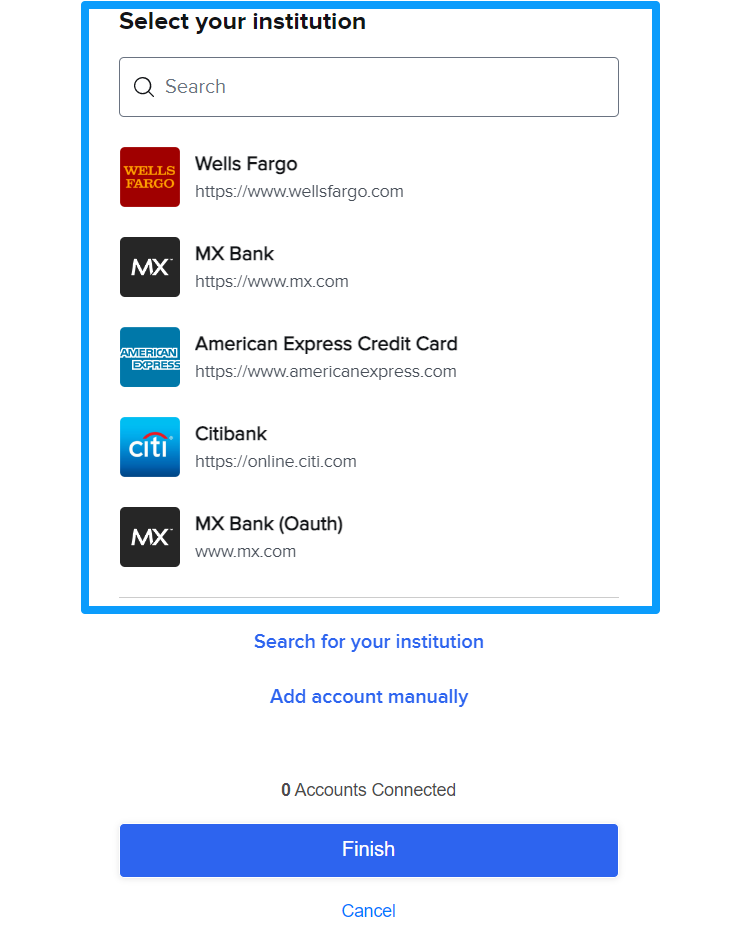
Step 1: Select your Bank
Choose your banking institution from the list. You may also use the search bar.
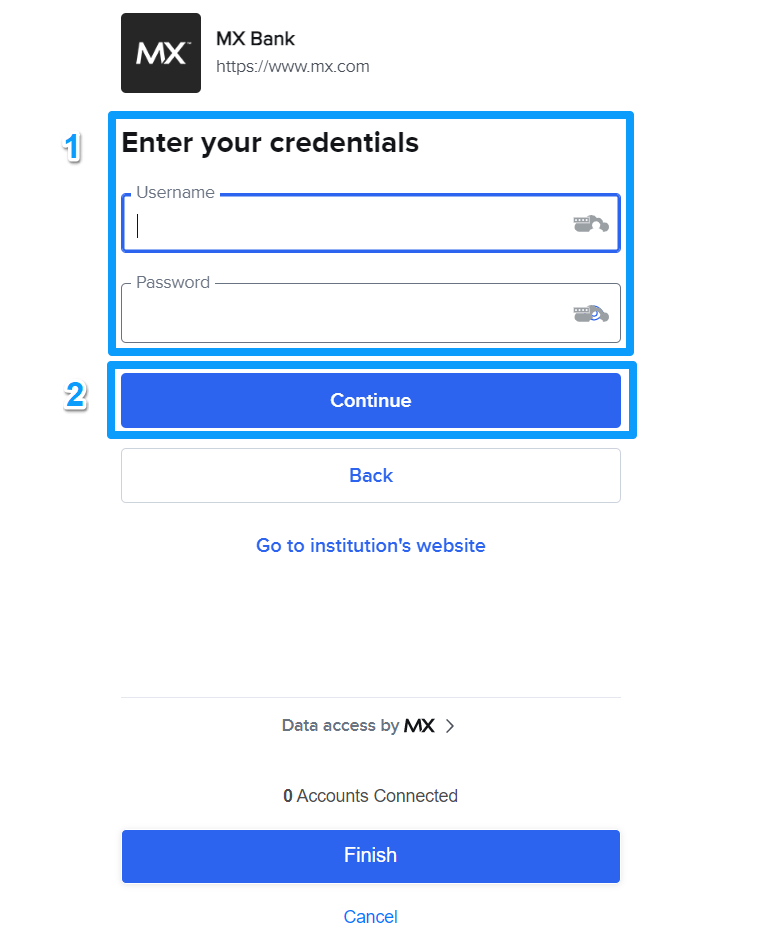
Step 2: Log in to your Bank
To log in to your bank, enter your credentials. The login page may appear within the application OR in a separate pop-up window.
Step 3: Authorize the Application:
Please note that not all banks will require this step.
You may also need to authorize the application. The authorization page may open within the application (Image 1) or in a separate window (Image 2).
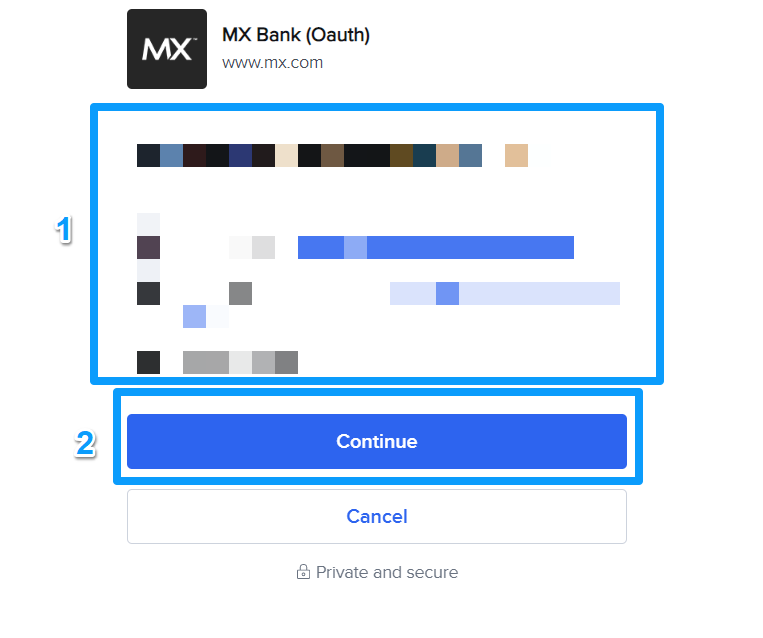
Image 1: An authorization page directly within the application.
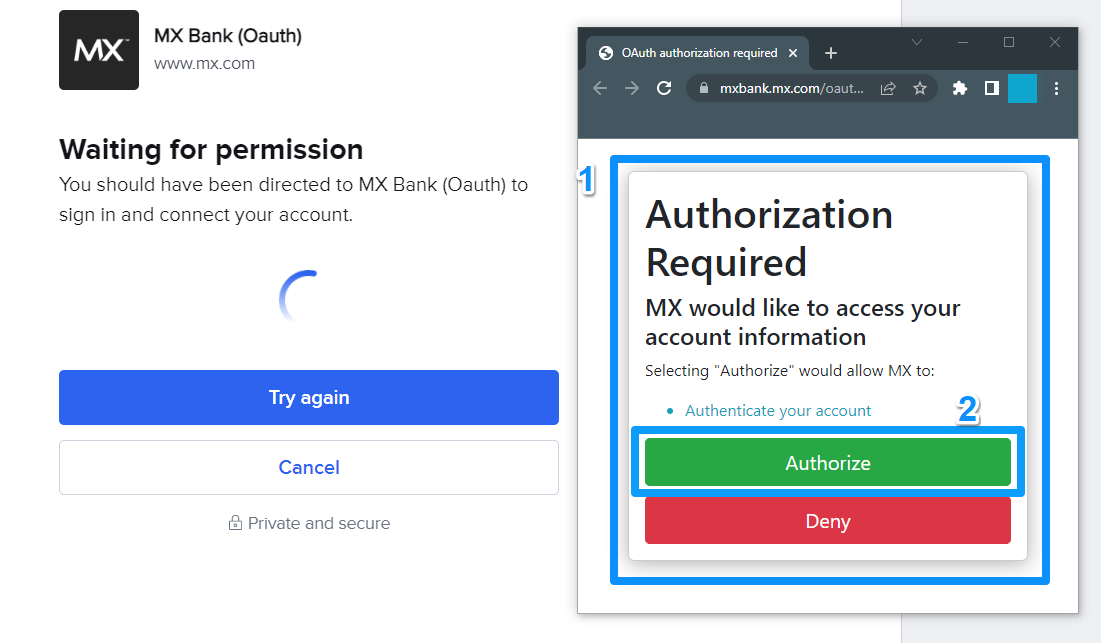
Image 2: A second window with an authorization page.
Wait for the application to finish syncing your information. Upon completion of the connection, a confirmation message will display and the number of accounts connected will increase by one count.
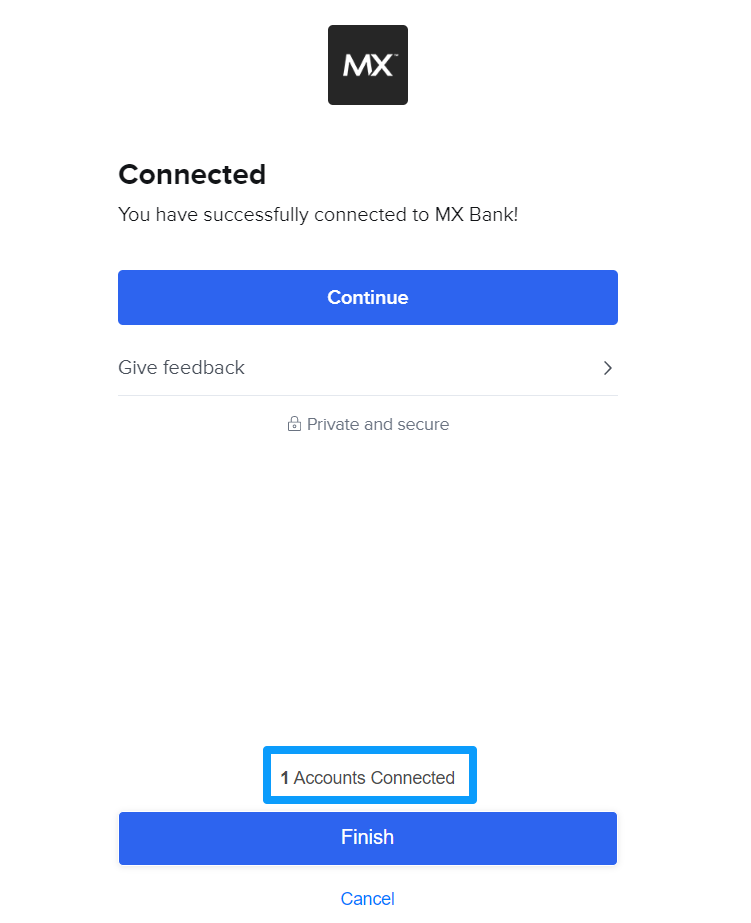
Step 4: Add Another Bank Account Or Finish Connecting
From this same page, you can click Continue to add another bank OR click Finish to choose accounts and to complete the set up.
Add Another Bank
If you would not like to add another bank account please continue to Finish.
Step 5: Select the Next Bank Account
If you selected Continue, choose the next bank that you would like to add. Please enter your credentials to log in. The login page may appear within the application OR in a separate pop-up window.
Step 6: Authorize the Application
You may be required to review permissions requested and authorize the application. Please refer to Step 3 for examples.
Upon authorization, please note that the number of accounts connected will increase by one. This will indicate the next bank has been successfully included.

When you are ready to connect the banks, please click Finish in the application. If you would like to add another bank please click Continue.
Finish Connecting Bank
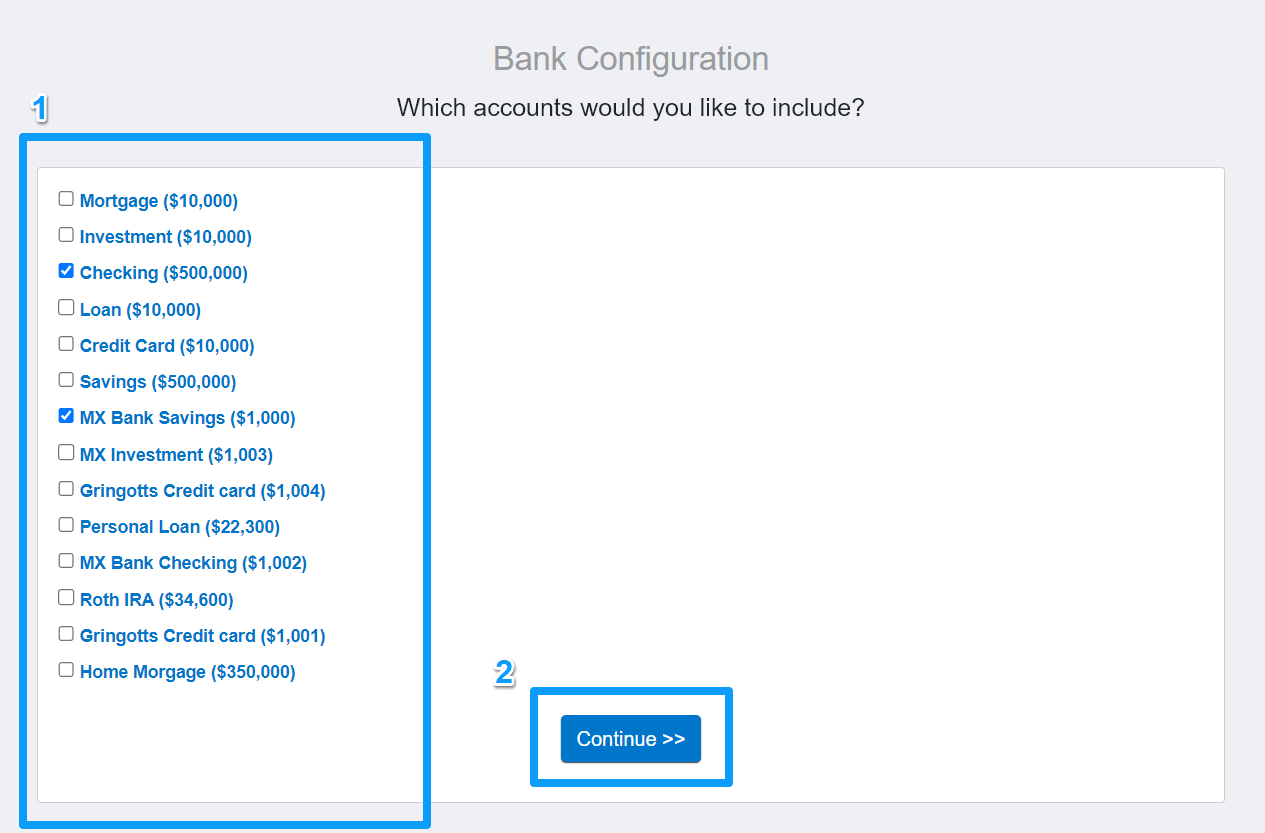
Step 7: Select the Accounts
If you selected Finish, you will see this page. Select the accounts you would like to authorize connection to and then click Continue.
Step 8: Complete
You will receive a confirmation message to indicate the connection was successful. You may hit Return to Dashboard.
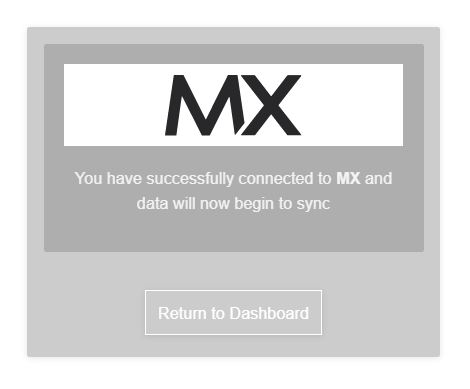
You have successfully connected a bank account!